File Authentication
A deepstream authentication mechanism that reads credentials and userdata from a file
File-based authentication allows you to store usernames, passwords or password hashes and optional meta-data in a file that will be used to authenticate incoming connections.
File-based authentication is a good choice for scenarios with smaller amounts of connections that need authenticating, e.g. publicly readable realtime dashboards with a small number of provider processes delivering the data.
Using file-based authentication
To enable authentication to a deepstream server with user credentials stored in a local file, set the type key to file in the auth section of the server’s configuration file.
auth:
  type: file
  options:
    users: fileLoad(users.yml) # Path to the user file. Can be json, js or yml
    hash: 'md5' # the name of a HMAC digest algorithm
    iterations: 100 # the number of times the algorithm should be applied
    keyLength: 32 # the length of the resulting key
    reportInvalidParameters: true # return when credentials are incorrect: missing username or password
The users key contains a path to the file relative to the config file, that defines your users and passwords. By default this is the users.yml file that comes with deepstream, but the name or location is up to you.
In the hash key add the hashing algorithm to hash the passwords, for example,
using md5 (or any other algorithm supported by your operating system). The iterations key sets how many times the algorithm should be applied to the user’s password, and keyLength is the length of the generated key. These should match how you hashed the passwords.
Please note You can omit the hash key in order to use cleartext passwords (Not advised in production settings!). Otherwise, the provided password upon login must be the already hashed password using the same algorithm you specified in options.
In the users file, create a list of your users and their hashed passwords (you can create hashes with your setting using deepstreams hash command).
You also have the option to specify:
clientData– user data you want to be sent to the client upon successful login,serverData– user data you want to be sent to permissioning.
chris:
password: tsA+ks76hGGSGHF8**/JHGusy78=75KQ2Mzm
clientData:
favorite color: blue
serverData:
department: admin
fred:
password: jhdGHJ7&0-9)GGSGHF8**/JHGusy78sjHJ&78
clientData:
favorite color: red
serverData:
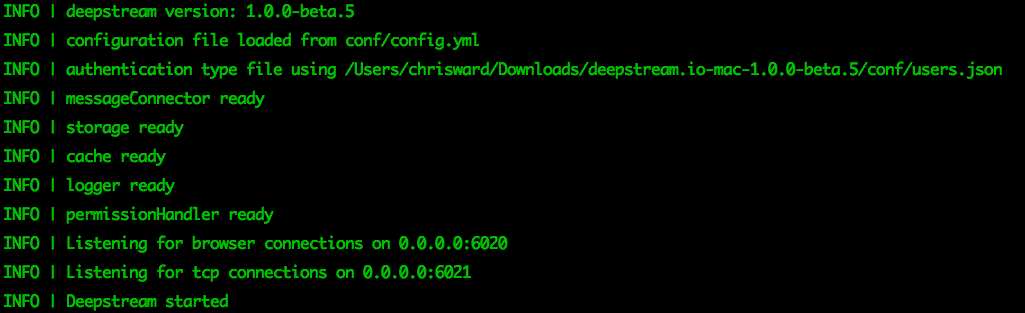
department: financeStart the deepstream server and you should see the authentication type confirmed.
In your application code you can now connect to the deepstream server and try to login a user.
const { DeepstreamClient } = require('@deepstream/client')
const client = deepstream('localhost:6021')
client.login({
username: 'chris',
password: 'password' // NEEDS TO BE REAL
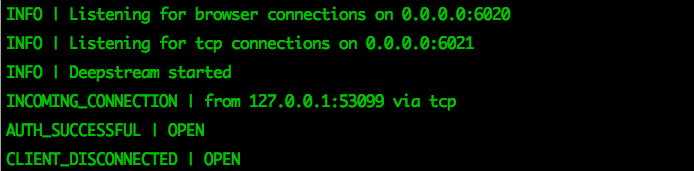
})If a success, the deepstream console will show:
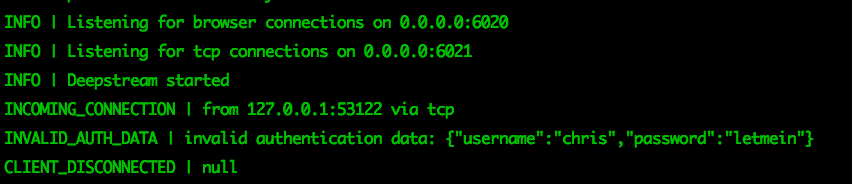
And if a failure:
You can then handle the outcome of the login request in your JavaScript code, for example:
// ES5
const { DeepstreamClient } = require('@deepstream/client')
const client = new DeepstreamClient('localhost:6020');

client.login({
  username: 'chris',
  password: 'password' // NEEDS TO BE REAL
}, (success, clientData) => {
  if (success) {
    // Do stuff now your authenticated
  } else {
      // Unhappy path of an unsuccesful login
  }
})
import deepstream from '@deepstream/client'
const client = new DeepstreamClient('localhost:6020')
try {
const clientData = await client.login({
username: 'chris',
password: 'password' // NEEDS TO BE REAL
})
// Do stuff now your authenticated
} catch (error) {
// Unhappy path of an unsuccesful login
}